
Step-by step guide to the snow angel exercise exercise
Maximize effectiveness: Tips for patients and practitioners
Step-by step guide to the snow angel exercise exercise
Maximize effectiveness: Tips for patients and practitioners

1. Step-by-step video on how to do the snow angel exercise

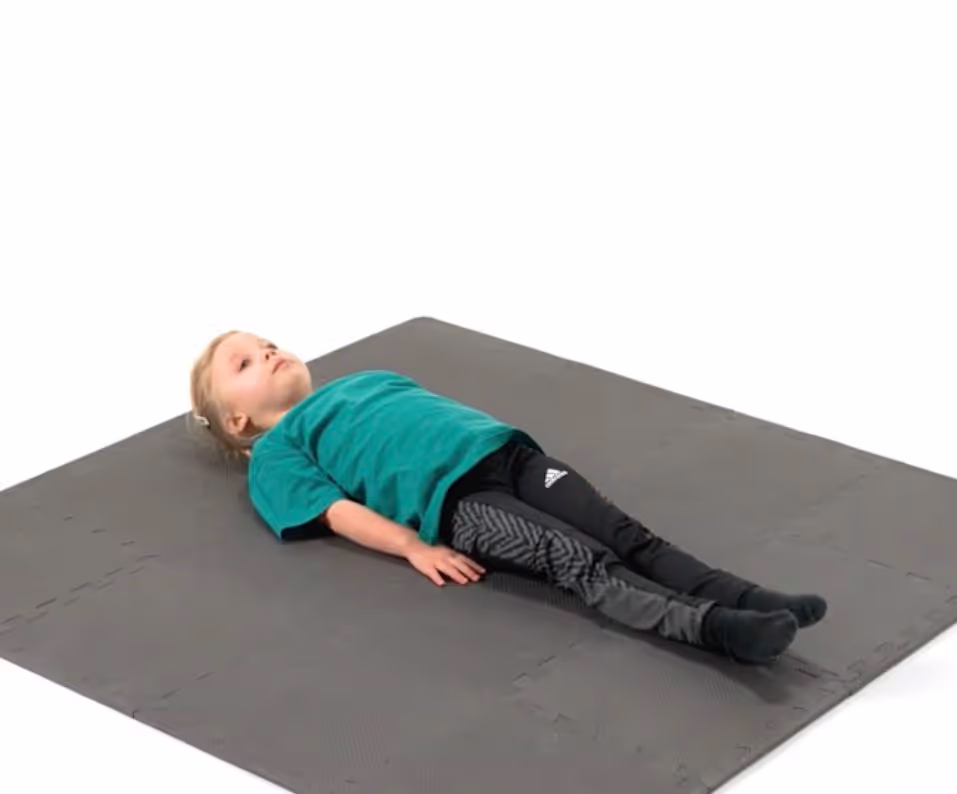
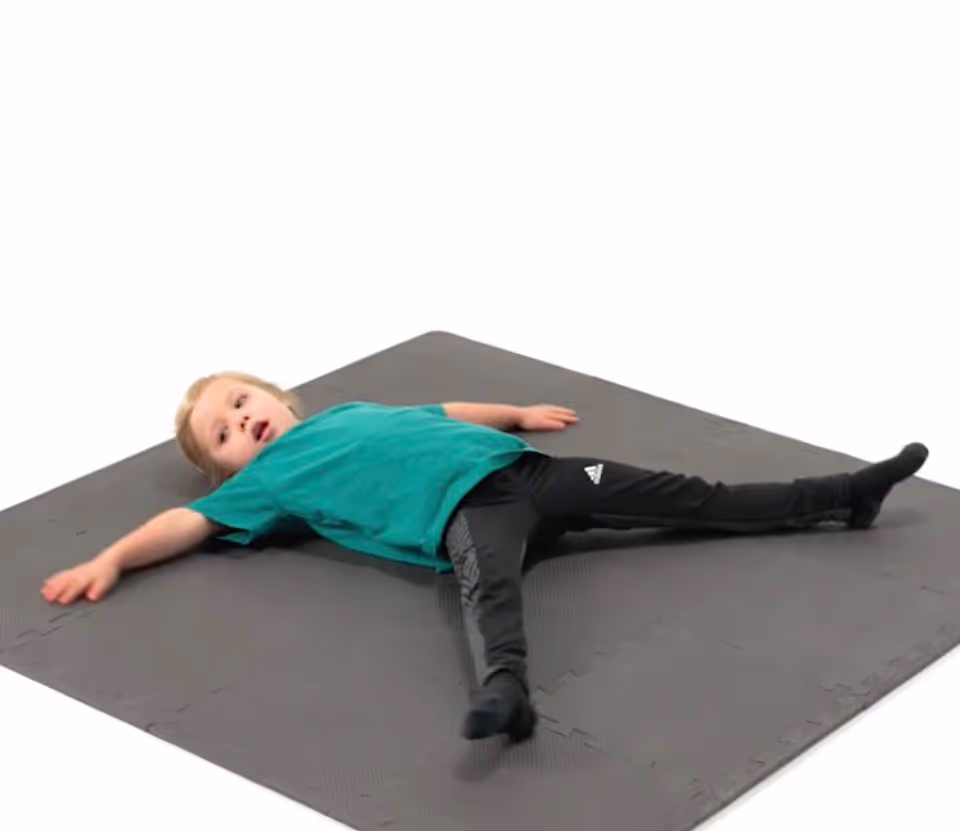
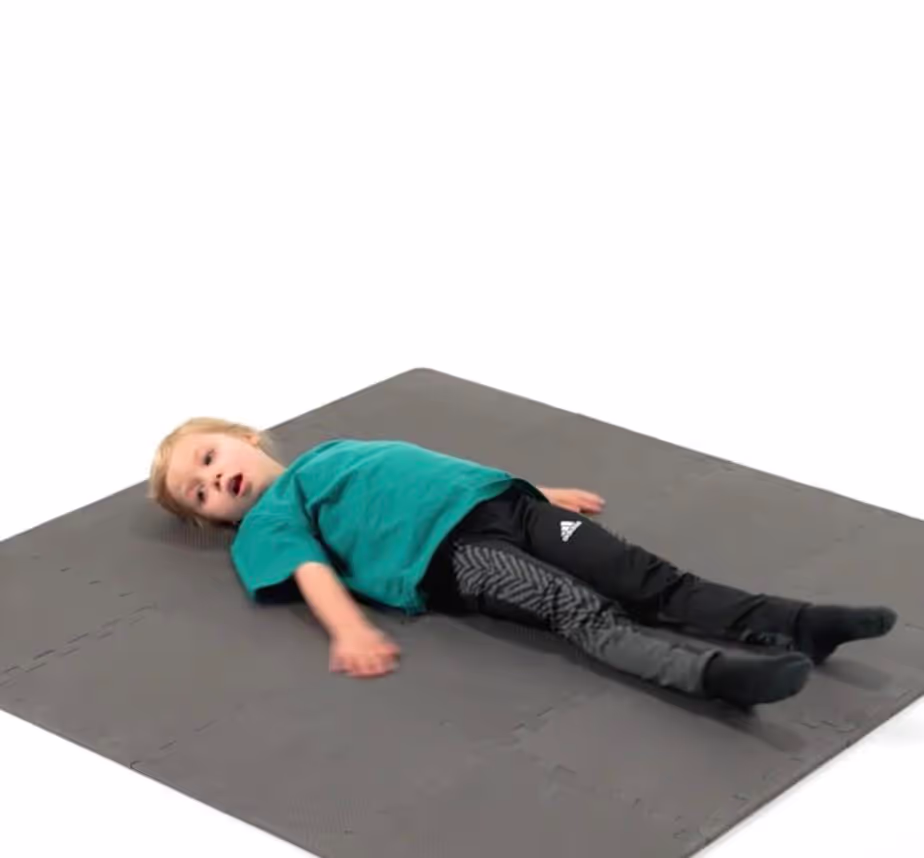
2. How to perform the snow angel exercise? Follow these instructions:

%20(1).avif)
3. About the snow angel exercise
- Engages all of the major muscle groups
- Provides an opportunity to stretch and relax
- Can be done by individuals of all levels of physical ability
- May be done inside or outside
- Helps to build strength and overall coordination
4. List benefits of snow angel exercise
Here are some potential benefits of performing this exercise:
- Increases flexibility
- Improves balance
- Improves coordination
- Helps reduce stress and tension in the body
5. FAQ on snow angel exercise
The snow angel exercise works the chest, shoulders, arms, and core muscles. Specifically, the muscles used are the pectorals, deltoids, triceps, and abdominals.
The snow angel exercise should be done at least once a week, but you can do it more often if desired.
The correct form for the snow angel exercise is as follows: 1. Begin by lying on your back in the snow with your arms and legs spread out. 2. Move your arms up and down in a circular motion, creating an angel shape in the snow. 3. Repeat the motion for 30 seconds or longer. 4. When finished, stand up and admire your snow angel.
Yes, there are some safety precautions to consider when doing the snow angel exercise. Make sure you are wearing appropriate clothing for the weather and that you are wearing gloves to protect your hands from the cold. Make sure you are wearing shoes with good grip to avoid slipping. Also, make sure you are aware of your surroundings and that you are not in an area with any potential hazards.

